Raise and Dispatch a Maintenance Ticket
A good maintenance ticket gives the responder enough information to act without a second phone call. Capture the exact unit, problem, access, urgency, and guest impact before dispatch. Follow this end-user guide for clear steps, checks, and troubleshooting.
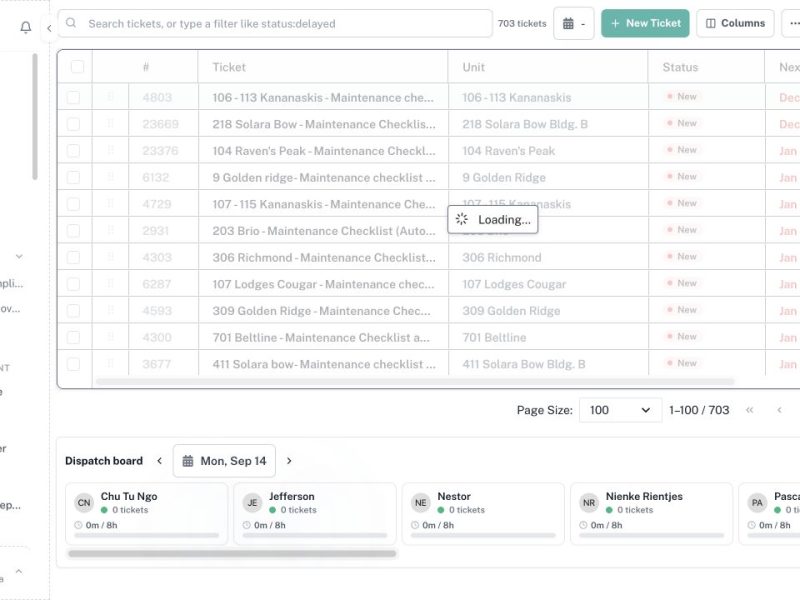
A good maintenance ticket gives the responder enough information to act without a second phone call. Capture the exact unit, problem, access, urgency, and guest impact before dispatch.
Menu path: Maintenance Management > Maintenance Tickets V3
Audience: Operations coordinators, supervisors, and authorized administrators.
What you will accomplish
By the end of this guide, you will be able to complete a maintenance ticket from the correct CleanOver screen, understand the important checks before saving, and verify that the result is visible to the people who use it next.
Before you begin
- Confirm there is not already an open ticket for the same issue.
- Collect safe photos and note whether the unit is occupied.
- Sign in to the Admin workspace and confirm you are in the correct business context.
- Use real operational dates and the property’s local timezone when the workflow includes time.
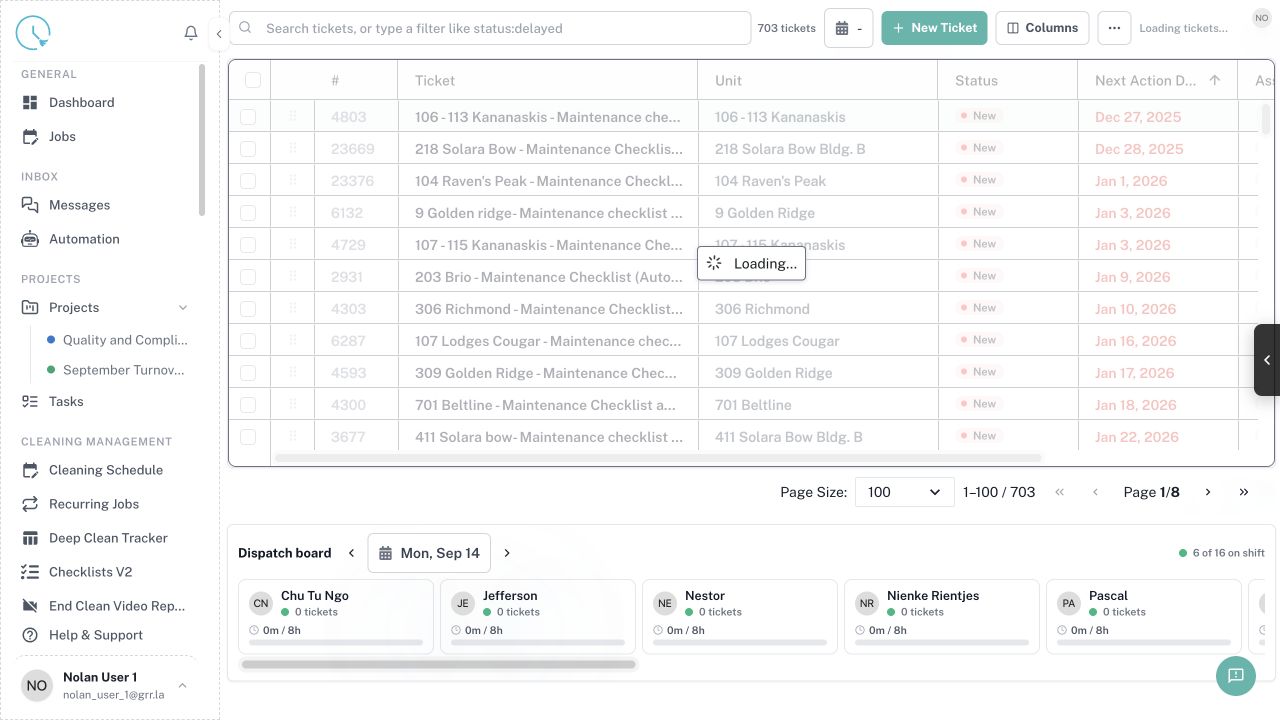
Step 1: Open Maintenance Tickets V3
Use the left navigation to open the current maintenance ticket board. Review active tickets before creating a new one.
Expected result: You have confirmed the issue is not a duplicate.
Step 2: Start a new ticket
Select the add-ticket action and choose the correct unit. Use a short title that names the failed item and location.
Expected result: The draft clearly identifies where the problem is.
Step 3: Describe the problem
Write what was observed, when it started, and what has already been tried. Avoid guessing the cause unless a technician confirmed it.
Expected result: A responder can understand the symptom without contacting the reporter.
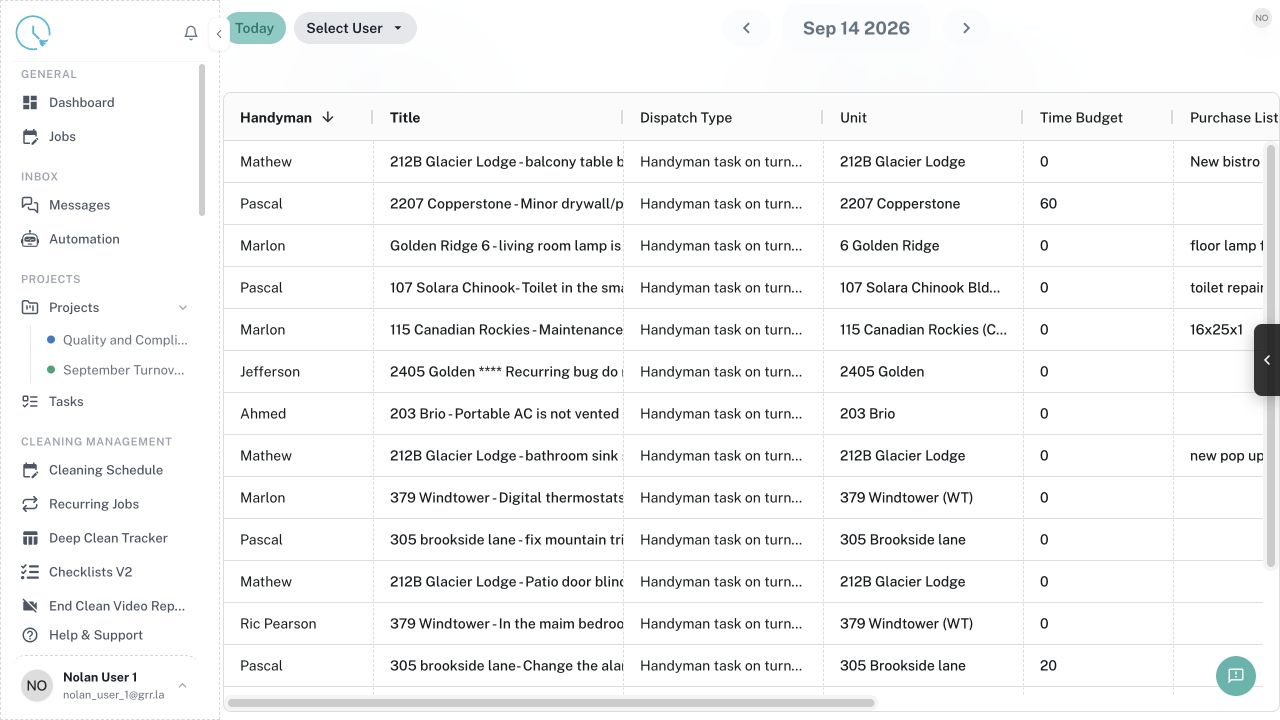
Step 4: Set urgency and guest impact
Choose priority based on safety, loss of essential service, and the next arrival. Mark a real emergency immediately through the approved escalation channel.
Expected result: Priority matches the operational risk.
Step 5: Add access and evidence
Attach useful photos and include safe access instructions, occupancy, parking, and contact details. Never place sensitive access codes in a public guest-facing field.
Expected result: The assigned responder can enter and diagnose safely.
Step 6: Assign or dispatch
Select the responsible staff member, team, or vendor and place the work on Maintenance Schedule when required.
Expected result: The ticket has an owner and a planned response time.
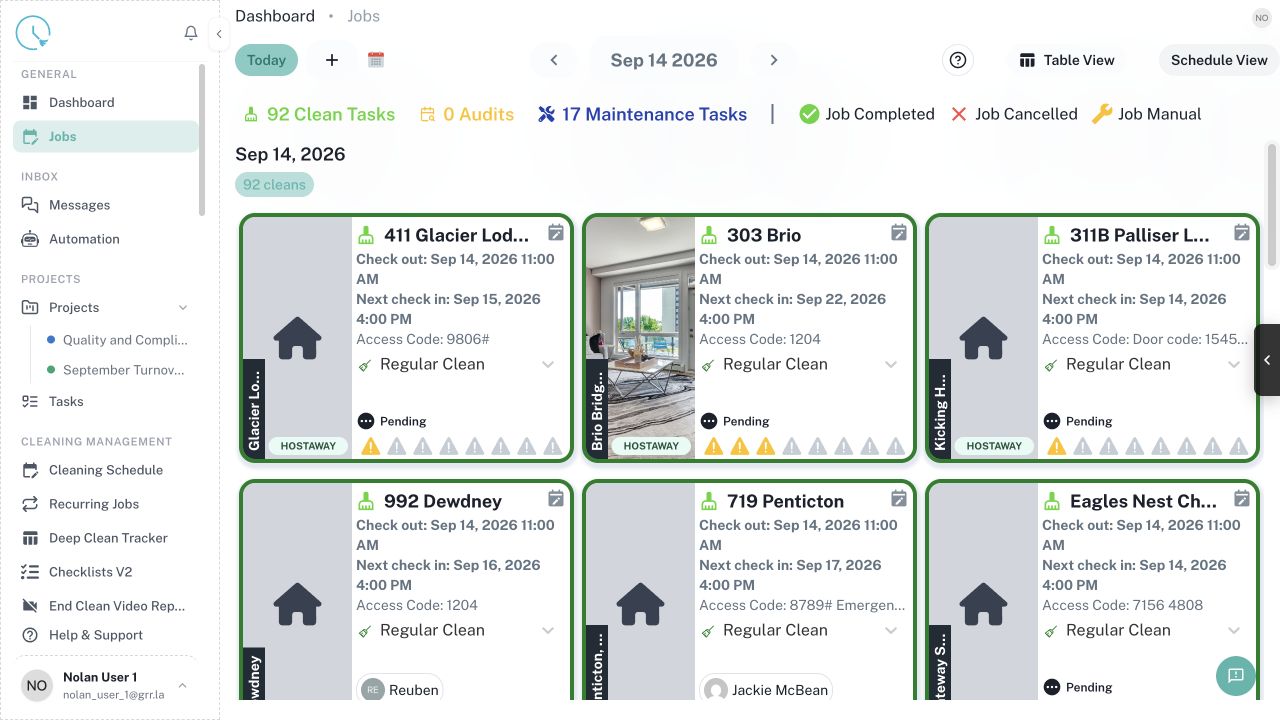
Step 7: Track status and notes
Move the ticket from new to active and resolved as work progresses. Record parts, temporary fixes, and return visits.
Expected result: Operations can tell what is happening without separate messages.
Step 8: Resolve and verify
Before closing, confirm the repair at the unit, add completion evidence, and update any linked Solution Case or guest communication.
Expected result: The issue is fixed and all dependent work is updated.
How to confirm the workflow is complete
- Refresh the destination list or calendar and confirm the saved record appears only once.
- Check the unit, date, status, owner or assignee, and any linked record before leaving the page.
- Open the next downstream view mentioned in the guide and confirm it shows the same information.
- Record an internal note when the action corrects historical data or changes another person’s responsibility.
Common issues and what to do
The expected record is missing
Clear old filters, check the date and business context, then search by the most specific identifier available. If the data comes from a connected provider, check connection and mapping status before recreating it manually.
A button is disabled
Look for a required field, incomplete checklist item, missing permission, locked lifecycle status, or unresolved linked task. Complete the highlighted requirement instead of trying to bypass it.
The page shows different information after refresh
Another user or integration may have updated the record. Compare timestamps and the source system, then apply the correction in the system that owns the data.
You are unsure whether to continue
Stop before cancelling, overwriting, revoking, or issuing a financial document. Ask the workflow owner to confirm the intended outcome and add that decision to the internal record.
Best practices
- Use clear names that make sense to a new team member without extra context.
- Prefer the smallest safe scope for bulk actions, filters, permissions, and date ranges.
- Keep guest-facing communication separate from internal diagnostic notes.
- Verify a high-risk change in a second view before considering it finished.
- Update the source configuration when the same correction is needed repeatedly.