05. Customize Statement Wording with Template Studio
Template Studio lets you change the wording shown on owner statements. You can adjust the title, section headings, item names, descriptions, standard note and footer, then preview the result with a generated statement. The editor controls wording; it does not change financial amounts, table columns or the order of the calculation. Use Fee terms, Revenue and Chargebacks for changes to the underlying figures.
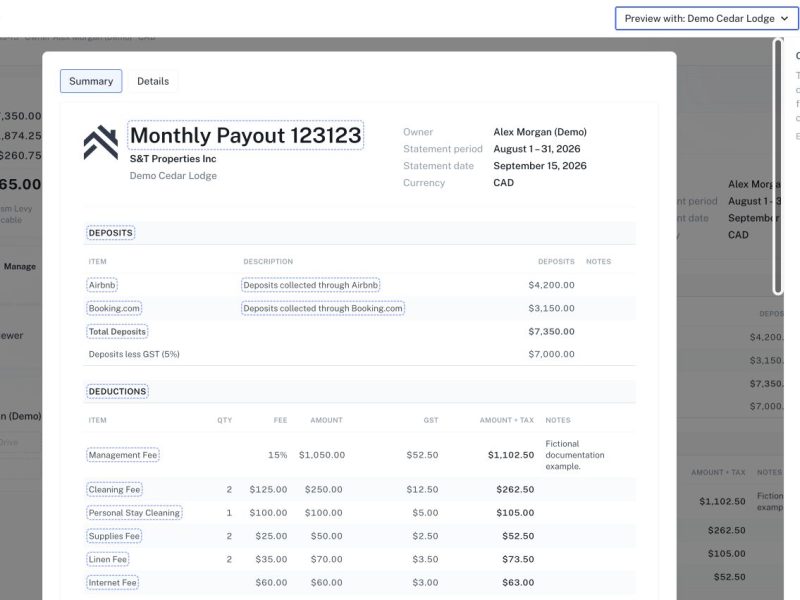
Template Studio lets you change the wording shown on owner statements. You can adjust the title, section headings, item names, descriptions, standard note and footer, then preview the result with a generated statement. The editor controls wording; it does not change financial amounts, table columns or the order of the calculation. Use Fee terms, Revenue and Chargebacks for changes to the underlying figures.
Before you begin
Prepare the wording approved for your business and choose a generated statement that provides a useful preview. Confirm whether you are changing the standard wording for future work or updating an existing draft. Template versions are shared within the business, so review wording for more than one property type when it includes region-specific or owner-specific language. The example edit shown here is an unsaved demonstration.
Step 1: Open the template
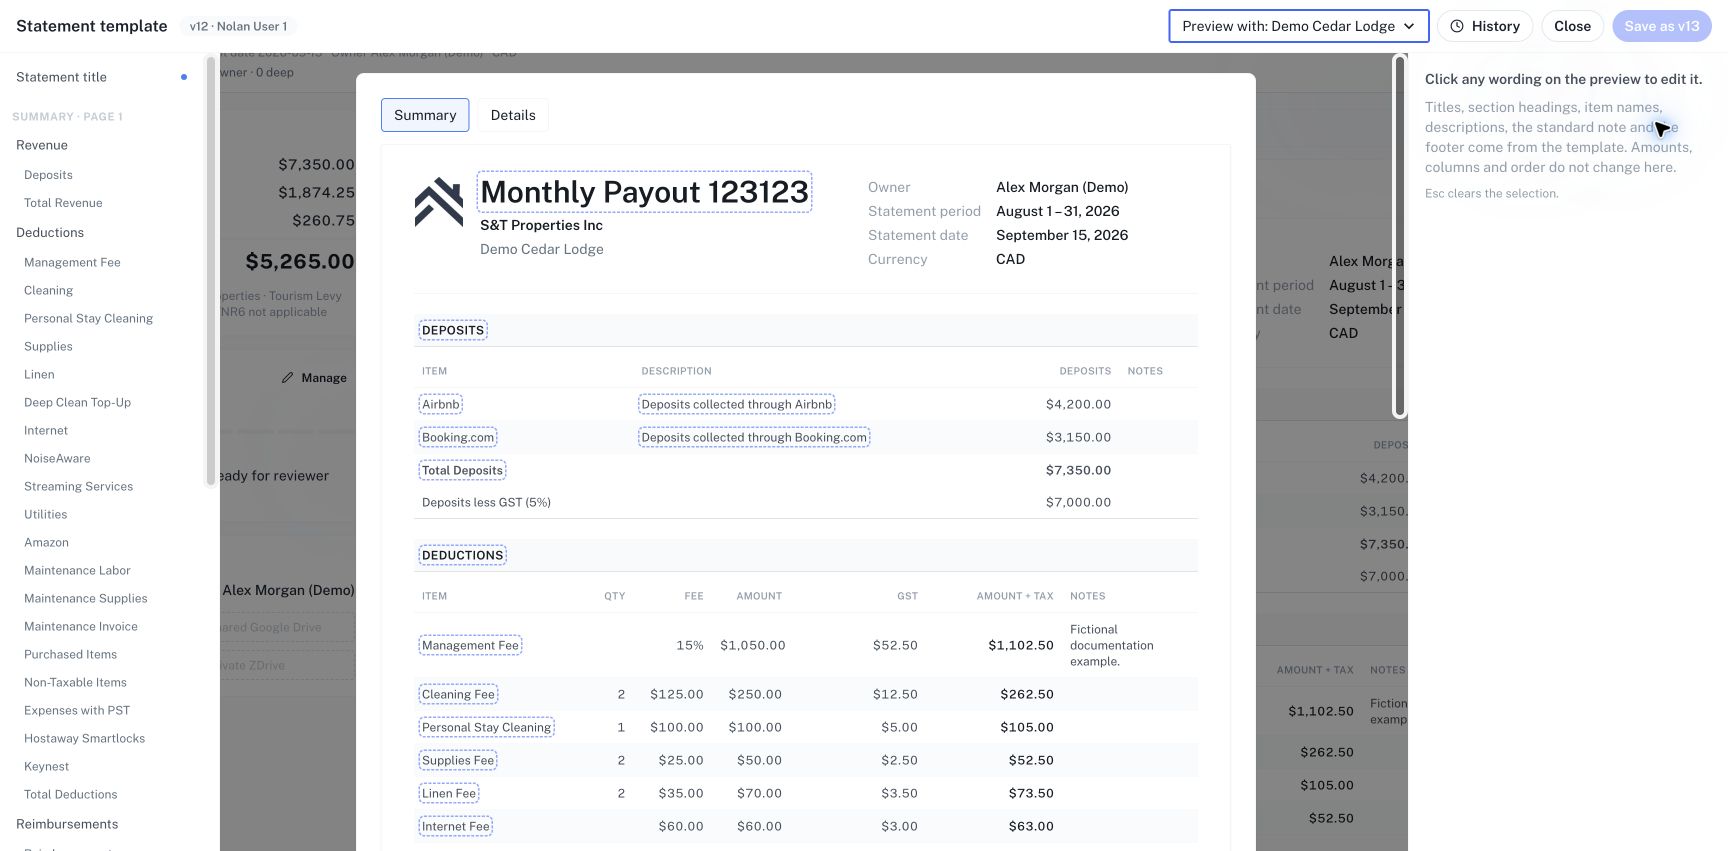
On Statements, select Template. You can also open a statement review and choose Edit template. The top bar shows the current version and provides History, Close or Discard, and Save as v followed by the next version number. The left outline lists editable wording. The centre preview shows how that wording appears in an actual statement.
Step 2: Choose a representative preview
Use Preview with statement to select an available generated statement. Confirm its unit and period in the preview. Start with Summary to check the title, deposits, deductions, taxes and payout wording, then switch to Details for revenue and chargeback headings. An item without a corresponding line in the chosen statement may not be visible in that preview, even though it exists in the outline.
Step 3: Select the wording you want to edit
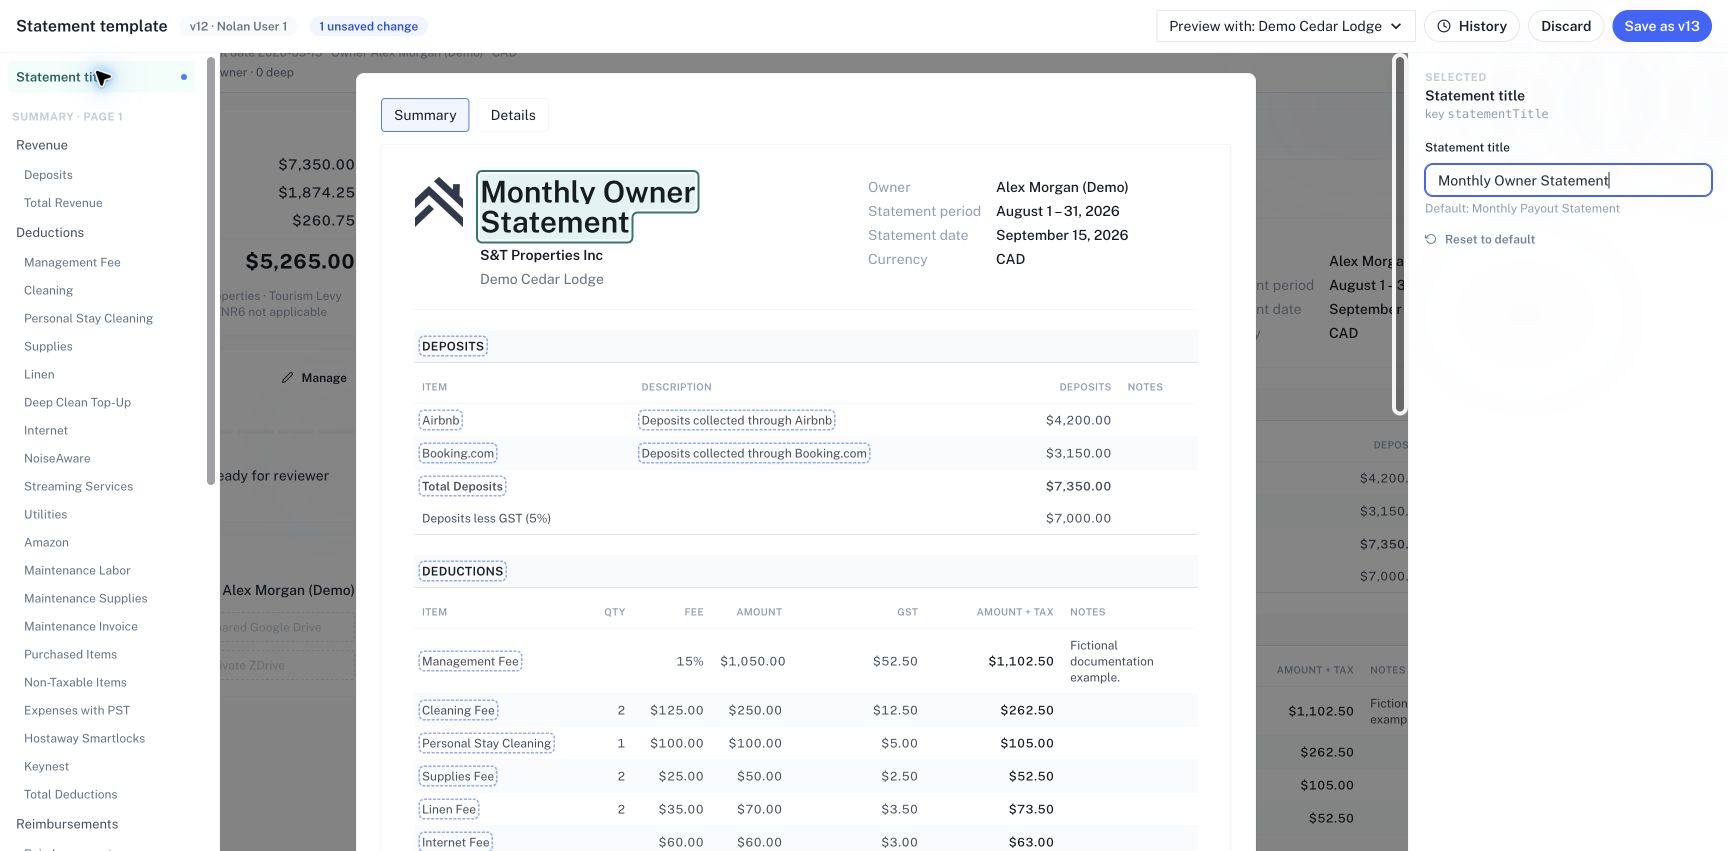
Click a title or line in the preview, or choose it from Template outline. The inspector on the right identifies the selected wording and exposes its editable fields. Selecting Statement title, for example, opens a textbox for the document title. Select a specific line when you want to change its name or description. Use the context in the preview to confirm you are editing the intended item.
Step 4: Edit and review the live result
Enter the new wording and inspect the updated preview. Keep labels short enough to read clearly in the table. Use descriptions to clarify meaning without repeating the entire label. Review spelling and terminology consistently across Summary and Details. The unsaved-change indicator shows that you have pending edits; seeing a change in the preview does not mean a new version has been saved.
Step 5: Check notes, footer and default wording
Use Standard note and Footer when you need to change the reusable explanatory text. Reset to default restores the selected wording to its default in your current editing draft. It does not immediately publish a new template version. Review the resulting change before saving. Pressing Escape clears the wording selection, which is useful when returning to a general document review.
Step 6: Save a new version
When all wording is ready, select Save as v followed by the displayed next version. Wait for the saved-version confirmation. The new version becomes available for new statements. If another editor has saved a newer version first, follow the reload guidance and review the latest wording before trying again. If you decide not to keep your edits, select Discard and confirm the unsaved changes should be discarded.
Step 7: Update existing drafts deliberately
After saving, review the option to apply the new version to drafts in the selected month. Existing drafts may still reference older wording until updated. In an individual draft, the wording banner identifies its version and the latest version, offers a comparison when available, and provides Update to v for the newer wording. This updates wording without recalculating amounts. Finalized and Sent statements keep their locked wording; reopening is required before changing it.
Step 8: Use history to inspect or restore wording
Select History to see saved versions, their authors and where they are in use. Preview an earlier version when comparing wording. Restore loads that version's content into your editing draft; save it as a new version if you want to make it current. The process preserves the prior version history rather than erasing it. Check the preview and unsaved state after restoring so you know which action remains.
How to verify the result
Open a relevant draft and confirm its wording banner shows the intended version. Inspect Summary and Details, then create a fresh PDF and check the title, descriptions, notes and footer there. Confirm that amounts remain unchanged when only wording was edited. An older downloaded file will not update itself.
Common issues and best practices
If you cannot preview real data, generate a statement first. If a finalized document retains older wording, that is its locked version rather than a failed save. If Save is disabled, check whether there is a valid unsaved change. Avoid putting one owner's private message into a business-wide standard note. Use concise language that works across the intended properties, and verify a fresh exported document before using the new wording for delivery.